|
After removing the surface
rust I set out to inspect the machine the best I could.
The machine has boxways on Y and dovetail ways on X and
Z. The ways and screws looked fine on all three axes.
Here's a couple of random photos:
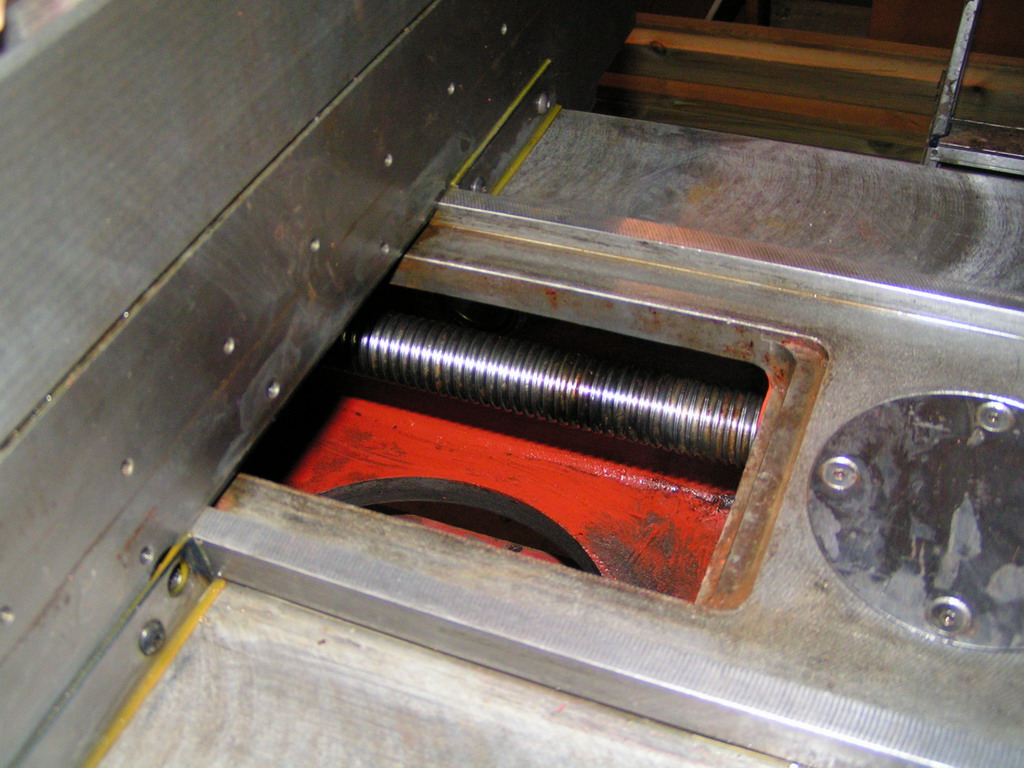
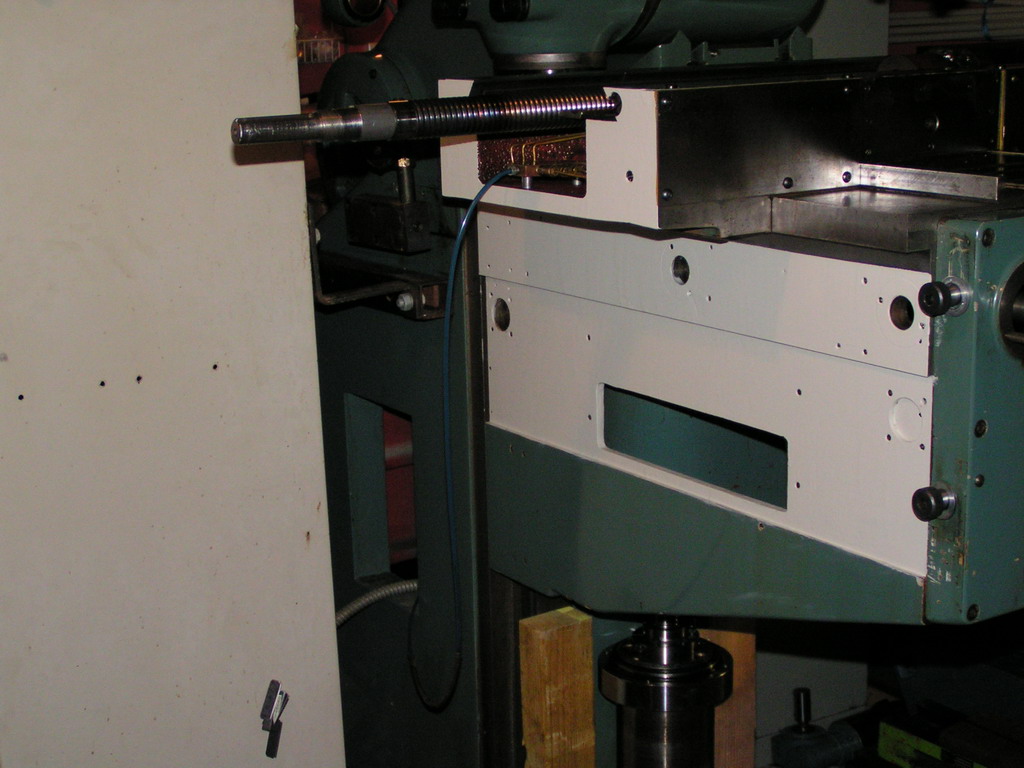
 This is the Y-axis ways and ballscrew, the red/brown
junk isn't rust it's just old oil and grease....
This is the Y-axis ways and ballscrew, the red/brown
junk isn't rust it's just old oil and grease....
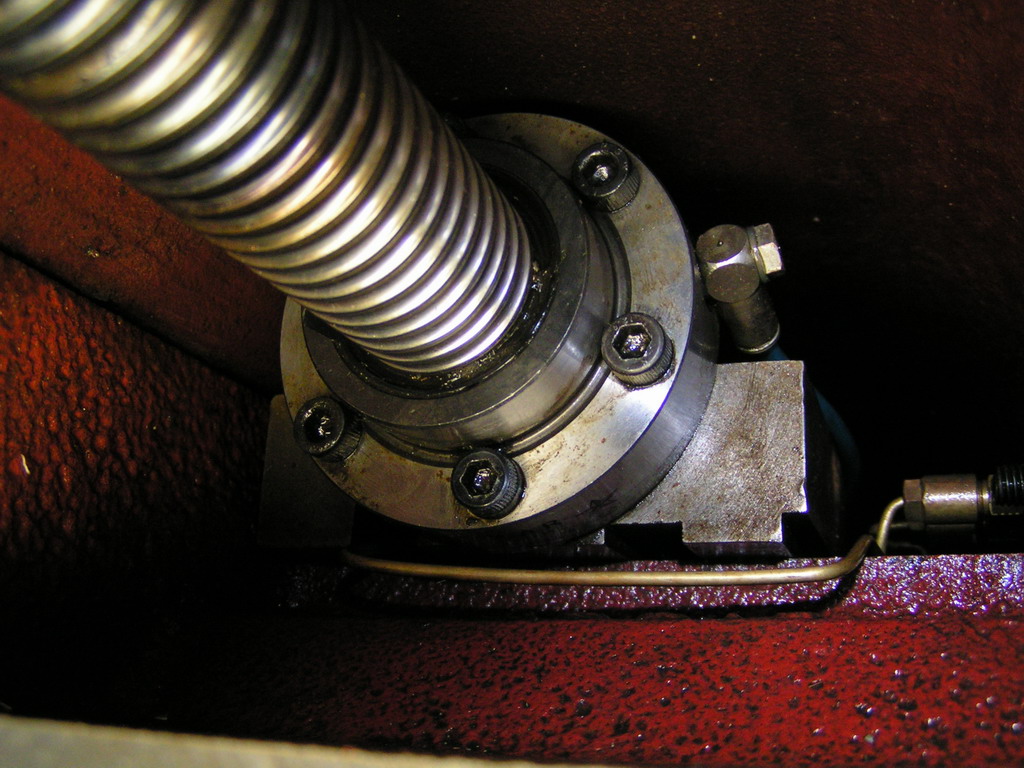
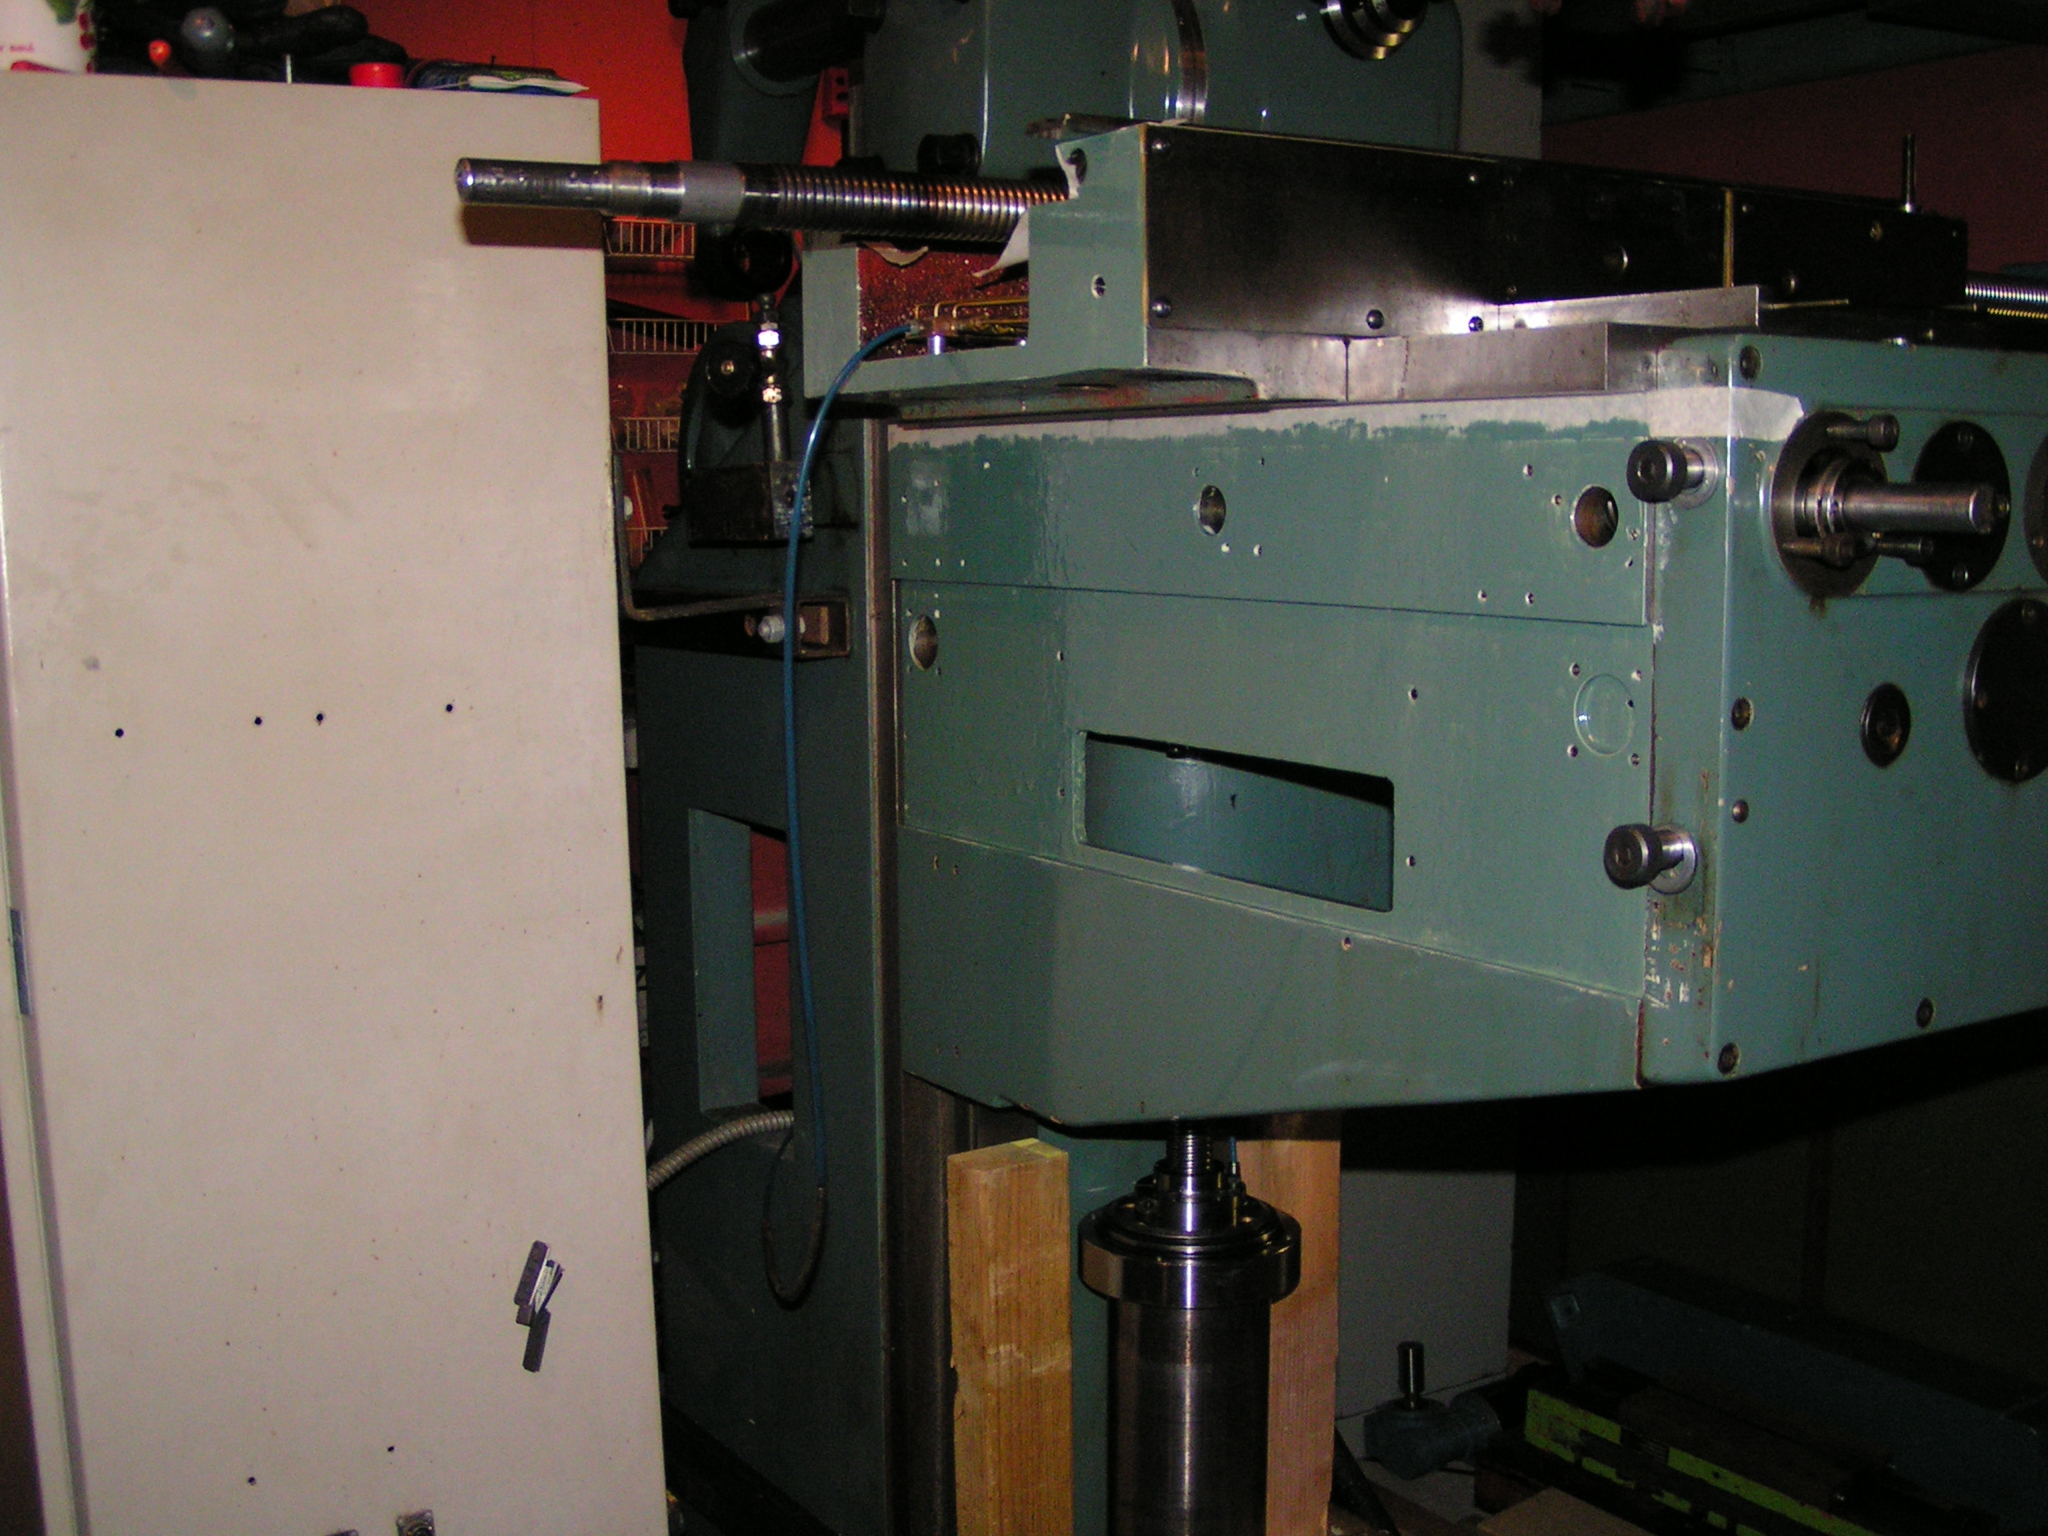
The next photo is a
closeup of the X-axis ballnut. The screws are 32mm in
diameter, 5mm pitch on all axes and are made by
Rexroth/STAR.

As you hopefully can see
in the next photo I was able to get the rust on the
sides cleaned up pretty good:
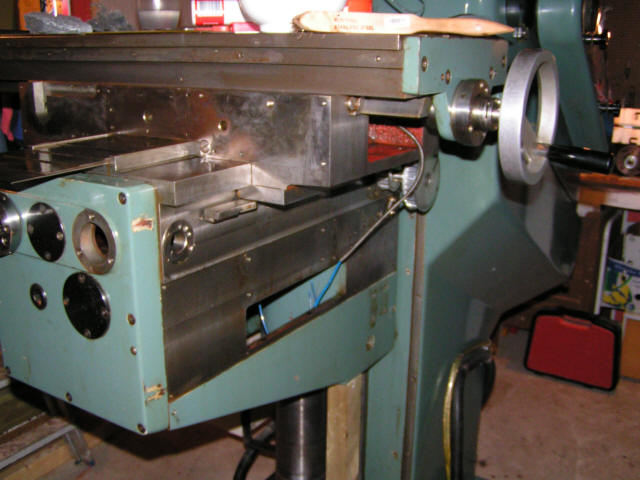
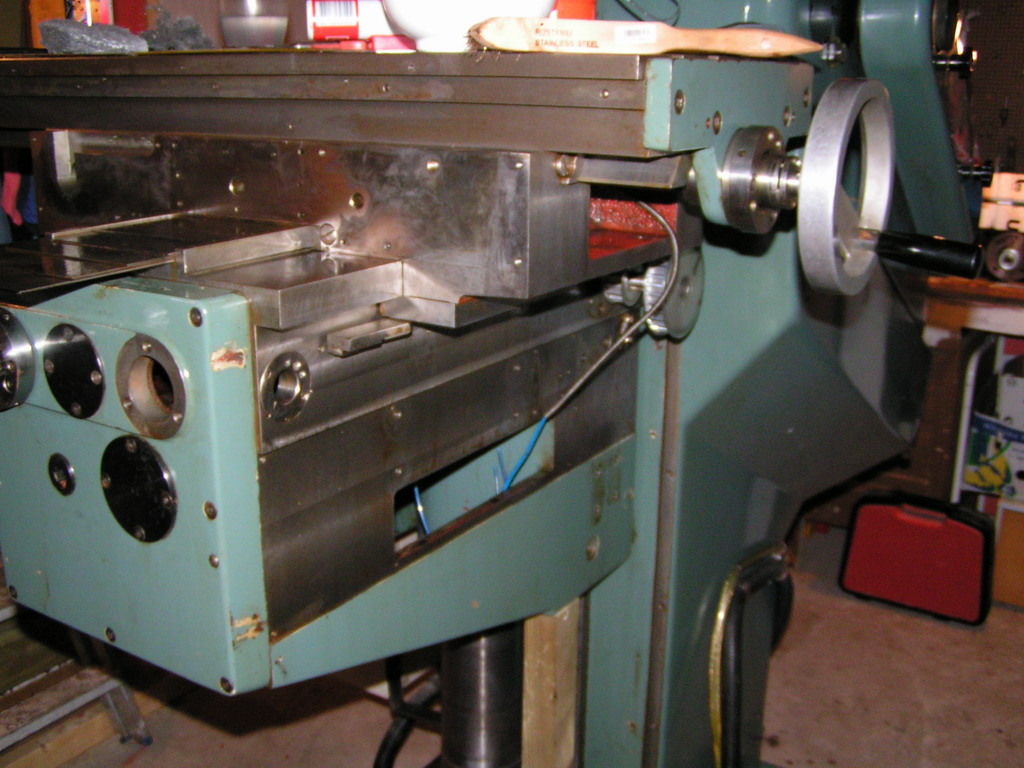
Here's another shot of the
left side of the X-axis with the bearingplate removed.
You can see one of the manifolds for the central lubing
system:
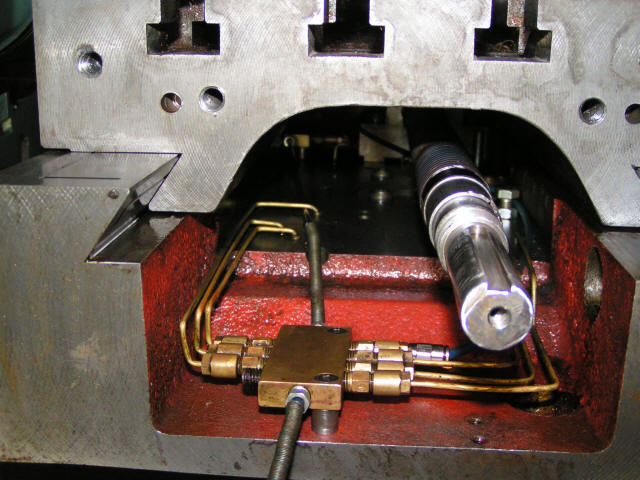
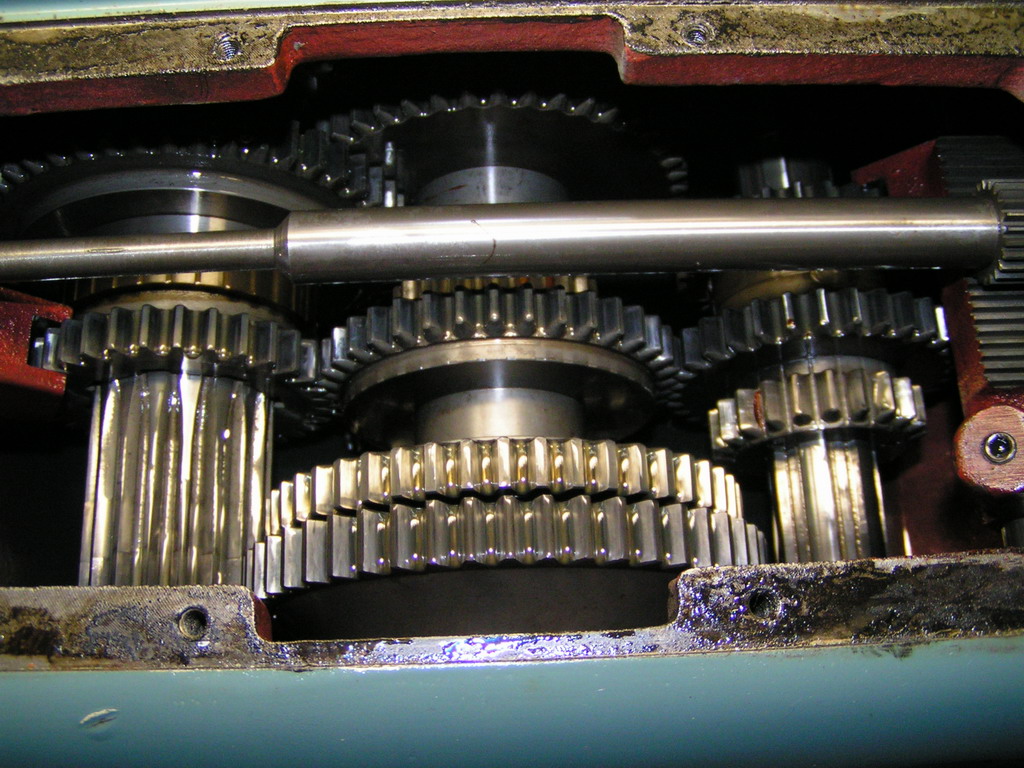
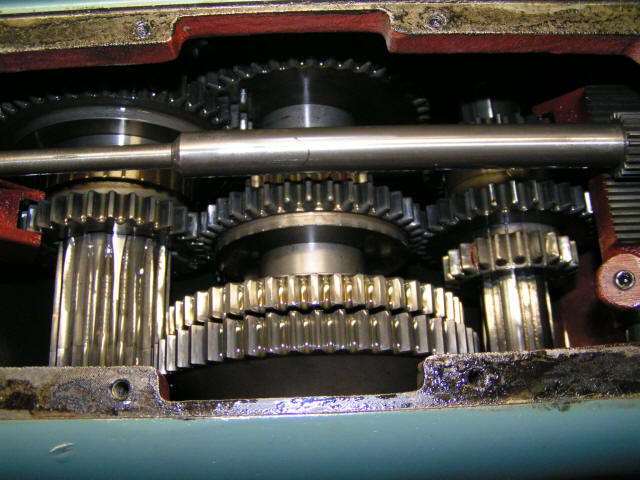
And here's a shot of the
spindle gearbox. The spindle, by the way, is a SK40
DIN2080, has 12 speeds between 44 and 2000rpm and the
motor is 4.5kW (6HP). It will eventually be controlled
by a Siemens Micromaster VFD.
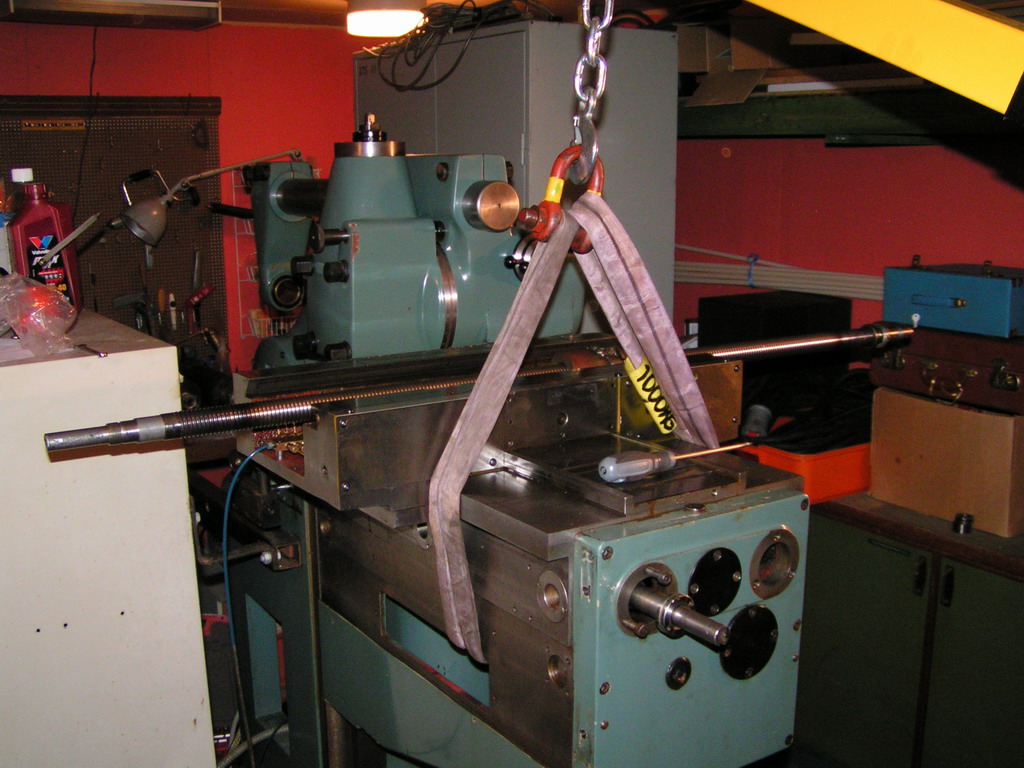
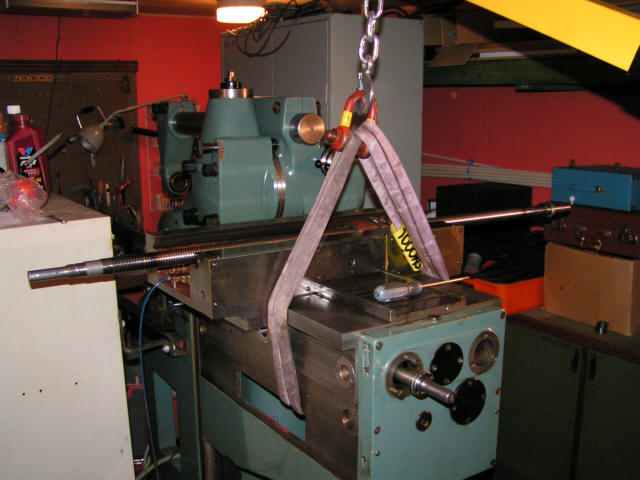
Quite early in the process
I discovered a problem with the
Z-axis. The bevel gear that drives the Z-axis ballscrew
was slipping on the shaft so I had to take that apart
and fix it. I bought an engine hoist and started by
removing the table to gain better access as well as
reduce the weight of the knee a bit:
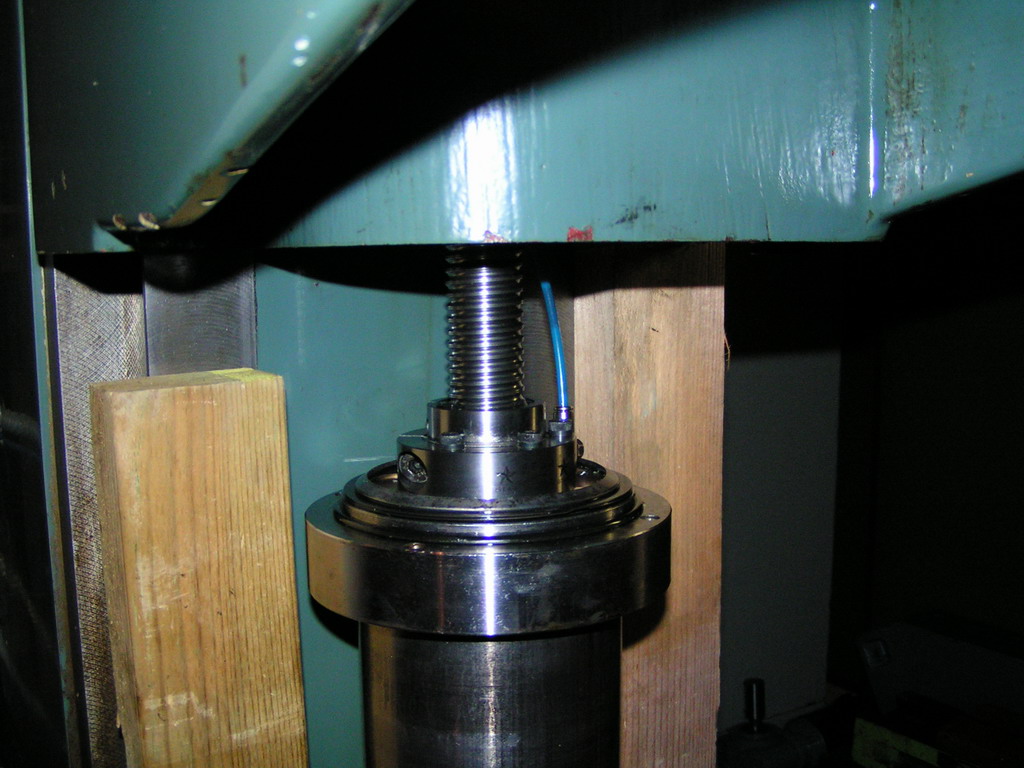
Once I got the knee lifted
(and supported) high enough I was able to slip down the
telescopic covers, loosen the ballscrew at the top end and
thread it down into the "leg" of the knee.

After that I could remove the whole
screw jack from the base of the machine. Once that was
done it was easy to spot the problem:
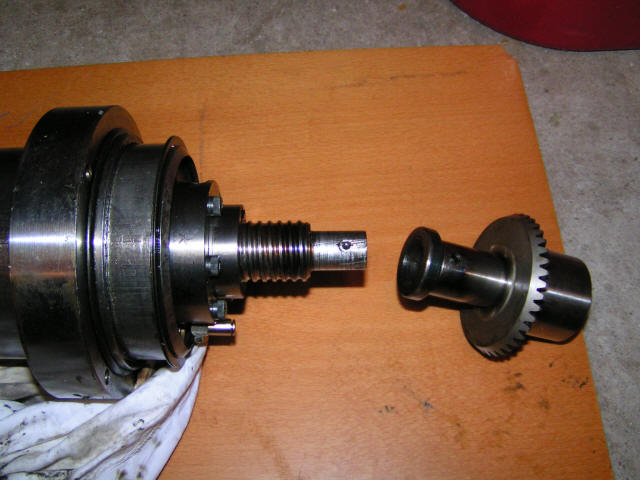

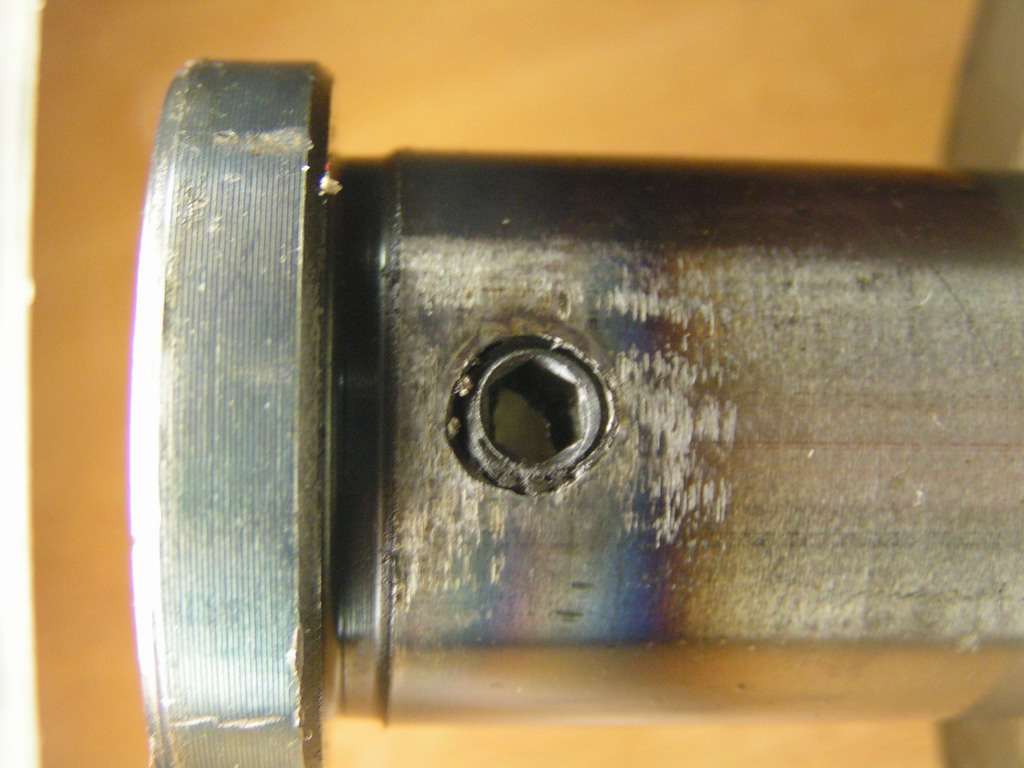
As you can see the only
thing holding the end of the shaft to the ballscrew was
a single set-screw. It was also burried so deep in the
shaft (in order for the gear to fit over it) that it more
or less became like hollow pin instead of a solid screw. I replaced the setscrew with a
conical dowel pin going thru the extensionshaft and
ballscrew from one side to
the other. Hopefully it will hold up much better than
the set-screw.
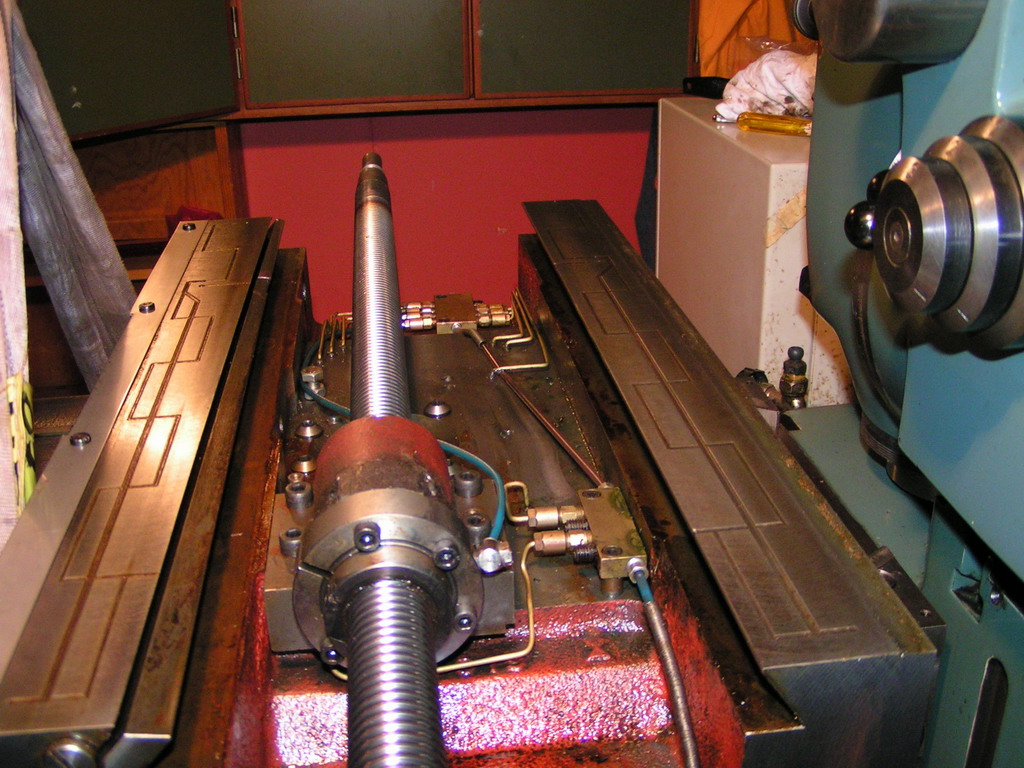
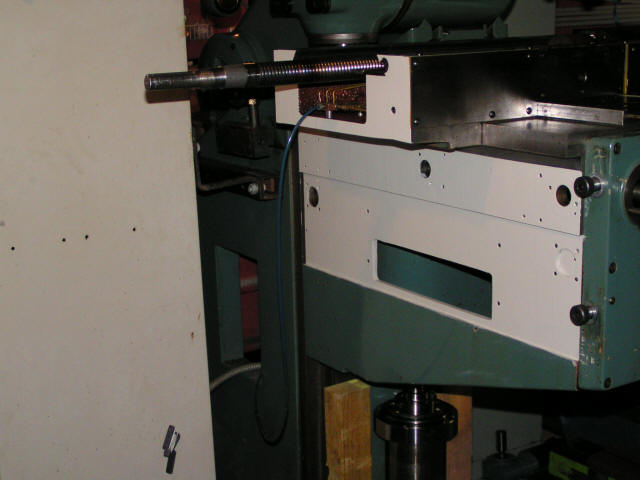
Here's a shot of the sadle
with the table removed:

While having the table
removed I figured I might as well get some paint on that
bare metal on the sides of the machine, here's the
basecoat applied:
And here's the same view
with two out of three layers of paint. I brought one of
the bearingplates with me to the store for the guys to
match the new pain against. They did a pretty good job.

<Back>
<Next>
|